Category: UI Design

  • What’s the Difference Between AR and VR?

    What’s the Difference Between AR and VR?

    AR (Augmented Reality) and VR (Virtual Reality) are both technologies that allow users to experience computer-generated environments, but there are key differences between them.

    • Reality-based: AR enhances or adds to the user’s real-world experience by overlaying digital information on the physical world, while VR replaces the real world with a fully computer-generated environment.
    • Interactivity: AR is generally less interactive, as users are still aware of their real-world surroundings, while VR is fully immersive and offers more opportunities for interactivity.
    • Equipment: AR can be experienced through a smartphone or tablet, while VR typically requires a headset or other dedicated device.
    • Use cases: AR is often used for practical purposes, such as navigation, education, and training, while VR is used for more immersive and interactive experiences, such as gaming, entertainment, and simulation.

    In conclusion, AR and VR are both technologies that allow users to experience digital environments, but they differ in how they integrate with the real world and the type of experience they offer.

  • 9 Tips For Passing a Whiteboard Test

    9 Tips For Passing a Whiteboard Test

    A whiteboard test is a type of interview used to assess a candidate’s design skills and problem-solving abilities. During a whiteboard test, the interviewer presents a design challenge and asks the candidate to solve it using a whiteboard or marker board. The candidate is expected to sketch, wireframe, or create a simple prototype of their solution, and explain their design decisions and thought process.

    The whiteboard test is a way for the interviewer to evaluate a candidate’s ability to think through a design problem, consider the needs of the user, and create a user-centered solution. It allows the interviewer to see how the candidate thinks about design and how they communicate their ideas.

    The whiteboard test is often used in UX/UI design interviews, but it can also be used for other design-related roles, such as product design, interaction design, and graphic design. The goal of a whiteboard test is to assess a candidate’s design skills and abilities and determine whether they have the knowledge and experience to be successful in the role.

    Here are some tips for passing a whiteboard test:

    1. Practice: Before you try this in front of your peers, you’ll want to practice at home (trust me). You can find lists of whiteboard design challenges online.  If you do not have a whiteboard at home,  you can use cloud software, or even a piece of paper.
    2. Ask clarifying questions: Make sure you understand the problem and context of the whiteboard test by asking clarifying questions. Personally, I like to divide the whiteboard into four quadrants for: Business Goals, User Description, User Goals, and Tech Constraints.  I typically have several questions already prepared to ask for each category.
    3. Think aloud: Share your thought process as you work through the problem, explaining your assumptions, design decisions, and rationale.
    4. Show your design thinking: Demonstrate your design thinking by considering the user’s needs, goals, and context and showing how your design solution meets those needs.
    5. Think through the problem: Take time to think through the problem and brainstorm different solutions before starting to sketch your design.
    6. Discuss trade-offs: Discuss the trade-offs you considered and explain why you made certain design decisions.
    7. Design a user flow: Before you begin sketching screen, show a high-level user flow outlining a common path that a user would take through your solution
    8. Be visually clear and concise: Present a clear, visually appealing, and organized solution, using sketches
    9. Be open to feedback: Be prepared to receive feedback and adapt your solution if needed.

    Note: The number one mistake that I see designers make on a whiteboard test is to start designing wireframes first. Remember, your goal here is to demonstrate how you solve a problem using your design thinking skills. That said, you should be asking questions about the constraints first.

    By following these tips, you can show your design skills, problem-solving abilities, and ability to communicate your design decisions. The goal is to demonstrate your ability to design user-centered solutions that meet the needs of the users and the business.

    PS. If you really want to impress the hiring manager, bring your own whiteboard markers and eraser ;o)

  • The Perfect Handoff

    The Perfect Handoff

    In this week’s article we’ll explore how design becomes code using Inspect by InVision.  I’ll walk you through some of the challenges Designers and Developers have traditionally faced during this exchange. Then, I’ll discuss how you can combine a few popular tools to make the perfect handoff between design and development. Let’s get started…

    Problem

    The process of handing off design specs and assets to developers can be a stressful, and seemingly never-ending experience. In the past, designers have had to manually write-out the specs, drop assets into folders, email links, etc. -all of which can be extremely time consuming. In addition, developers have had to constantly chase down images, fonts, measurements, and require further clarification from the designer. As a result the collaboration can become difficult (or breakdown altogether), tension can rise, and you put yourself at risk to delay delivery.

    Solution

    Just as problems emerge, so do solutions and in our case, we see new tools! While there are many tools to choose from (Zeplin, Handoff, etc.) we’re going to focus on Inspect by InVision. To be transparent, I chose Inspect because of its popularity and it’s what I am the most comfortable with -I currently/actively administer an enterprise InVision account. That said, Inspect is a great way to collaborate with developers and ensure a smooth handoff.

    A solid playbook

    As a designer, you’ll need to have your assets organized, in repeatable patterns, and easy to access and maintain. You’ll want to spend as little time as possible maintaining the assets so you can focus on putting them into practice.

    This is where a design symbol library can help you. If you are unfamiliar with the power of symbol libraries, checkout my article here to learn more. In a nutshell, symbol libraries exponentially speed-up your time to deliver assets. You’ll have to sacrifice a little extra time up front but it’s well worth it in the long run. Once you have a library in place, you can assemble interfaces with ease.

    Tip: Name your layers. Try following a naming convention that your developers will understand. In my example, we can see elements represented in their respective code format (e.g. H1)

    Good communication

    Your playbook wont do you much good if your teammates don’t know what to expect. I suggest consulting with at least one developer throughout your entire design process. Don’t keep developers guessing until it’s time to hand-off the assets. I’ve found that including developers in the initial planning meeting, and the design reviews, is a great way to ensure they know what’s coming their way.

    Tip: Design System Documentation. Another great way to keep your developers, um, developing, is to document your specs online for reference. You don’t need to include everything, just the basics. 

    The perfect handoff

    At this point, we should have a solid playbook and a shared understanding of how to make it work. Now, it’s time to execute the play! Once your mockups/prototypes are approved, you can start handing off the design assets. In my example, I exported my design assets from Sketch into InVision via Craft.

    The developers can view the design in ‘Inspect’ mode and see the fonts, spacing, colors, and other specifications, as well as download images and icons -all in one place! Also without the need for the designer to document anything, the software does all of the work.

    Benefits

    With a perfect handoff in place, our process becomes smoother, clearer, and faster. For me personally, I have a mechanism that enables me to keep-up with an entire team of high-performing engineers. I can spend more time with my users, learning more about our products, and our Product Owners can feel confident that quality is built-in to the process. Further, with everything in one place and a common and clear vision on how to implement it is included, we’ve set ourselves up for success.

    Conclusion

    Now that you have an idea on how to handoff design assets to developers, it’s time to give it a shot. To get started, organize your design assets and interface patterns into a library.

    Then, distribute/communicate your library (and the specifications it contains) to your development team early and often. Finally, spend some time pairing with your developers and walking them through how to read the spec -regardless of what tool you are using. Until next time, thanks for reading!


    Have an idea I could help with? Let’s chat! While I’m currently on assignment, I’m excited to hear about the next big thing. Email me.

  • Practicing Diversity in UI Design

    Practicing Diversity in UI Design

    In the spirit of constant self improvement, I’ve challenged myself to be more conscious of cultural and racial diversity. I struggled a bit to identify where/how to get started but soon realized that I could make the biggest impact through my work. In this article, I’ll walk you through a few tips on practicing cultural and racial diversity as a User Interface Designer.

    Getting Started

    I started my exploration by analyzing past and current projects and created a checklist to guide myself along; 

    • Do your personas include people from different cultural and racial backgrounds?
    • Do the photographs you choose represent people from different ethnicities?
    • Are you including multicultural names in your interface designs? 
    • Are you including users from different ethnic backgrounds in your user testing?
    • Have you provided aid to non-native language speaking users?

    The first thing that stood out to me is that the user names in my interface designs did not represent my entire audience. I thought that would be a good place to start so I created a list of influential leaders from a variety of racial and cultural backgrounds, to use in my next design.

    In addition, I also realized that many of my illustrations were lacking diversity too. I decided to create a few new characters and in doing so, I realized that having a skin tone chart would be handy (below) when selecting colors. Note, I referenced this skin tone article on Jezebel. Also note, this may be the first (and last) time that I reference Jezebel. Haha!

    Skin Tone Hex CodeShading Hex Code
    #88583B (dark brown)#6E472F
    #E8CDA8 (light brown)#CFB695
    #D4B5AB (mocha)#AD958C
    #FBC5A4 (apricot peach)#E0B092
    #FFCC99 (peach)#BF9973
    #FAE7D0 (pale cream beige)#E0CFBA

    Next Steps

    Now that you have an idea on how to practice racial and cultural diversity as a UX/UI Designer, it’s time to give it a shot. To get started, try analyzing your current work and see if there are some areas to improve. Then, consider making adjustments to your designs based on your findings. To learn more about culture, race, and ethnicity, checkout this article on the Cliffs Notes website.

    Finally, if you have some additional ideas, I’d love to hear about them in the comments section below. Until next time, thanks for reading!


    Have an idea I could help with? Let’s chat! While I’m currently on assignment, I’m excited to hear about the next big thing. Email me.

  • A Day In The Life

    A Day In The Life

    Introduction

    This week’s article was inspired by a list of questions that I received from one of my students at Springboard.com. I am asked these questions often so I decided to collect my thoughts in one spot. Hopefully, this article will provide you with some insight into what life is like as a Product Designer. Let’s begin our Q&A…

    Questions & Answers

    What does your day to day look like?

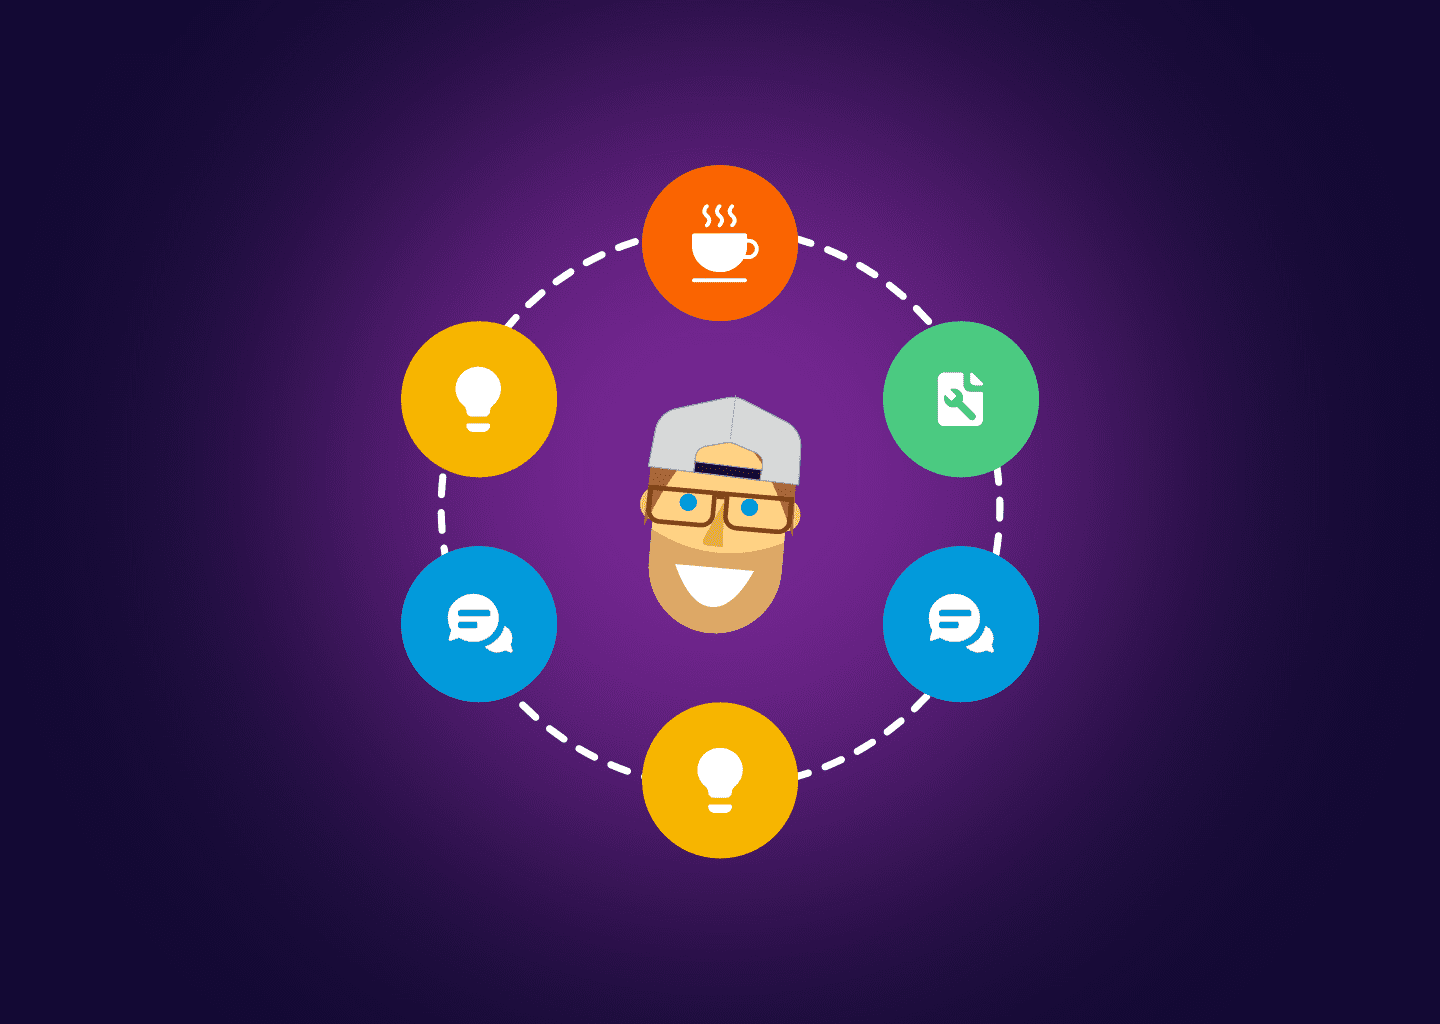
    My day always starts off with a cup of coffee. During this time, I read my notes from the prior day and write down my agenda for the current day. Then, I’ll transfer notes from my sketchbook into a project management tool (e.g. Jira, Rally, VersionOne).

    After my daily preparation is complete, I am ready to meet with my team (or client) for a daily briefing. If I am missing any assets or requirements, this is the time to make that known. Emails, direct messages, phone messages, smoke signals, etc. often get lost in the noise. After working over 15 years in the industry I have learned that face-to-face communication is the best way to get things done.

    After my briefing, I’ll go heads-down and focus on my work for about 2-3 hours. I pull my work requests from a prioritized backlog and try to only work on one request at a time. I do leave two hours open for meetings and/or requests that are outside of the scope of my daily commitments. I divide that time in two so that I am available for one hour in the morning and one hour in the afternoon.

    This approach seems to work well as an embedded designer as well as a shared service. After a quick bite to eat, I’ll dive right back into my heads-down work for another 2-3 hours. Rinse and repeat! I should also mention that not everyday is the same… I have scheduled planning sessions on a bi-weekly and quarterly basis. I’ll spend about a day preparing for my bi-weekly planning and four days for quarterly planning. 

    What kind of tools do you use for work?
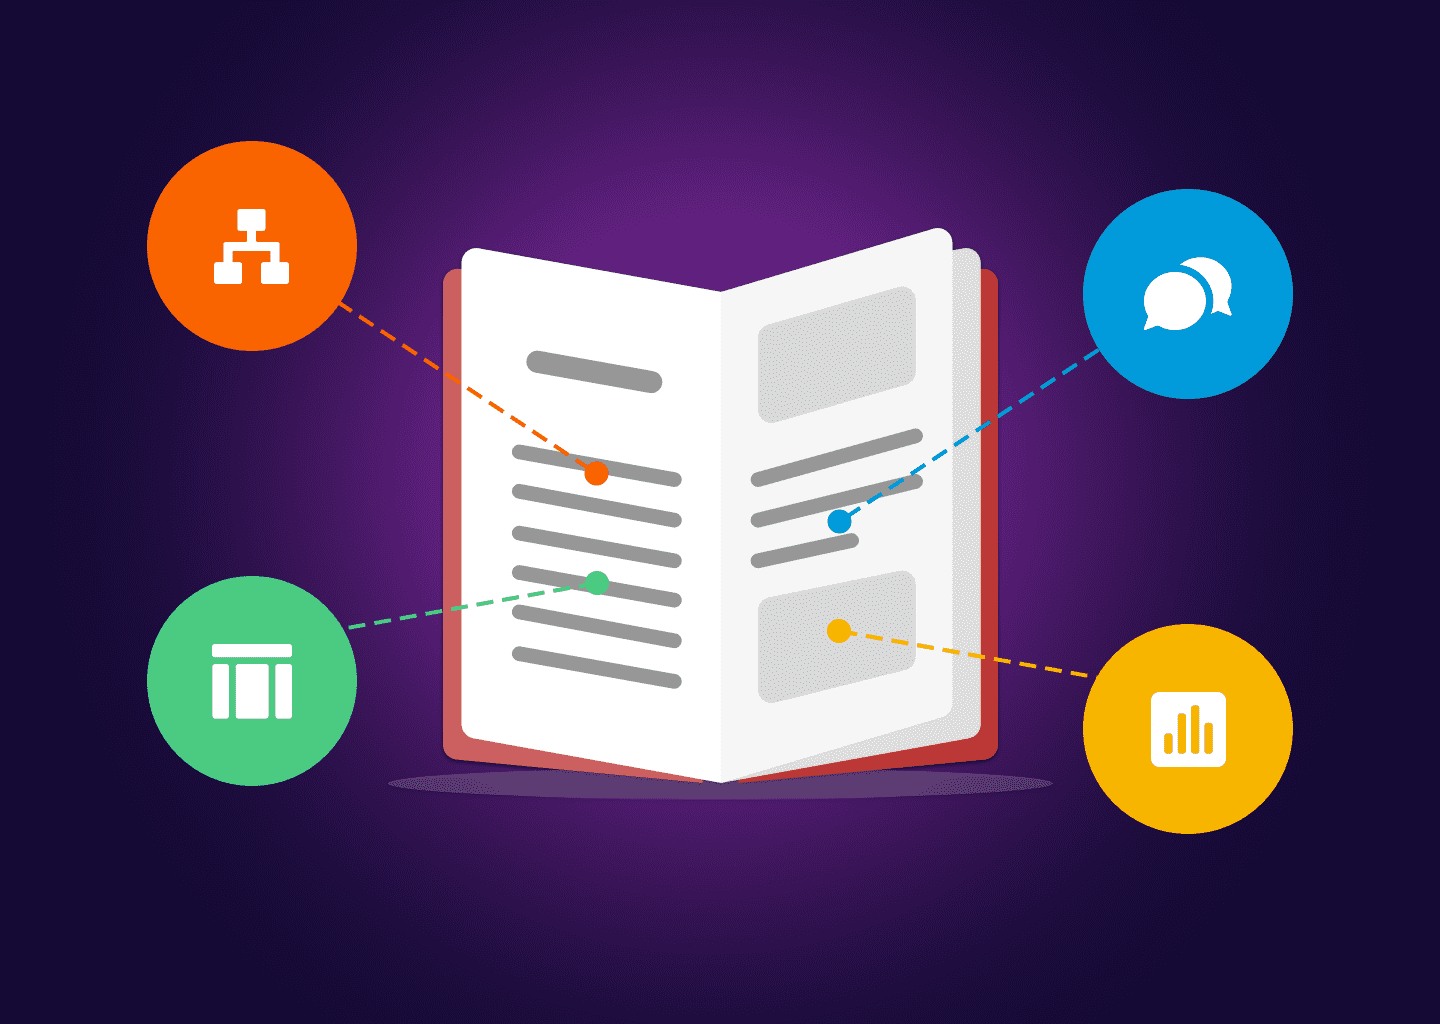
    Design Tools

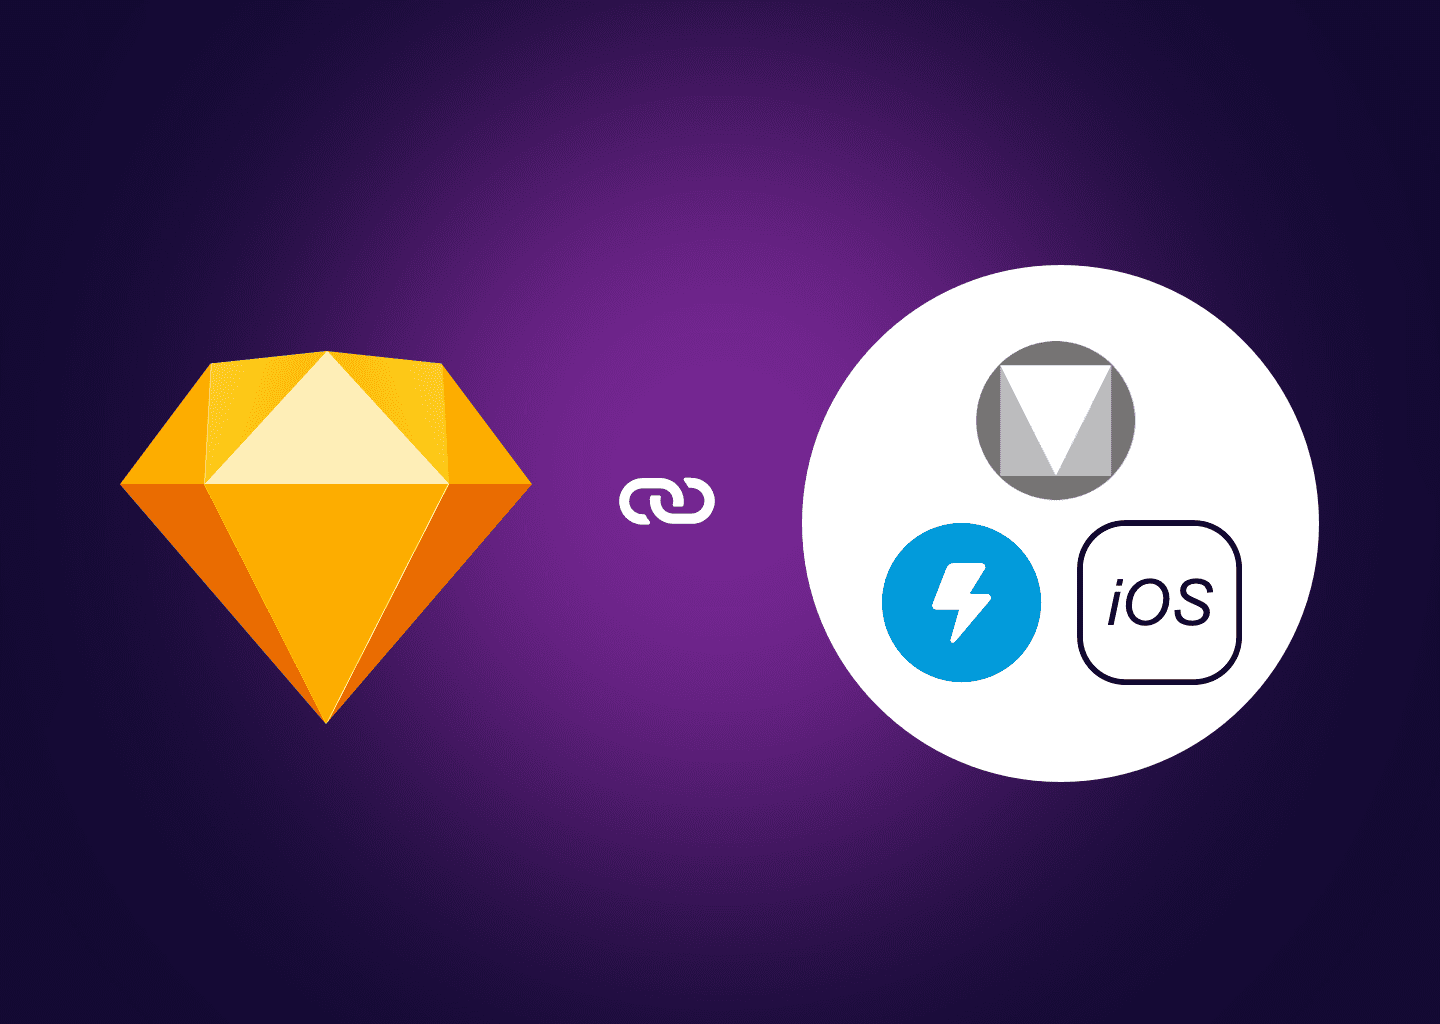
    For the first ten years of my career, I used Adobe Photoshop & Illustrator exclusively. Then when I started working as an independent consultant, I shifted to using UXPin to save money. I’ve also used Adobe XDFigma, and Axure, before finding Sketch.

    Now, I design in Sketch, prototype in InVision, and keep my personas and journey maps in UXPressia. In addition, I use a whiteboard daily -all of my ideas start on a whiteboard! Finally, I use my Design Thinking Toolkit to conduct my design thinking exercises.

    Discovery Tools

    To aggregate feedback from users I use a combination of several tools. For heat mapping, I like to use Crazy Egg but I should mention that I follow Neil Patel so I’m biased. Ha!

    For engagement, adoption, retention, and time-on-task metrics, I use Google Analytics. To measure happiness, I have used HotJar in the past but now I’m currently into using SurveyMonkey.

    To conduct remote user testing sessions, I use the Google Suite for my templates, recruits/participants lists, and to conduct the actual interviews themselves (via Meet). However, I just started using UserTesting.com and I look forward to enhancing my research strategies through their software. 

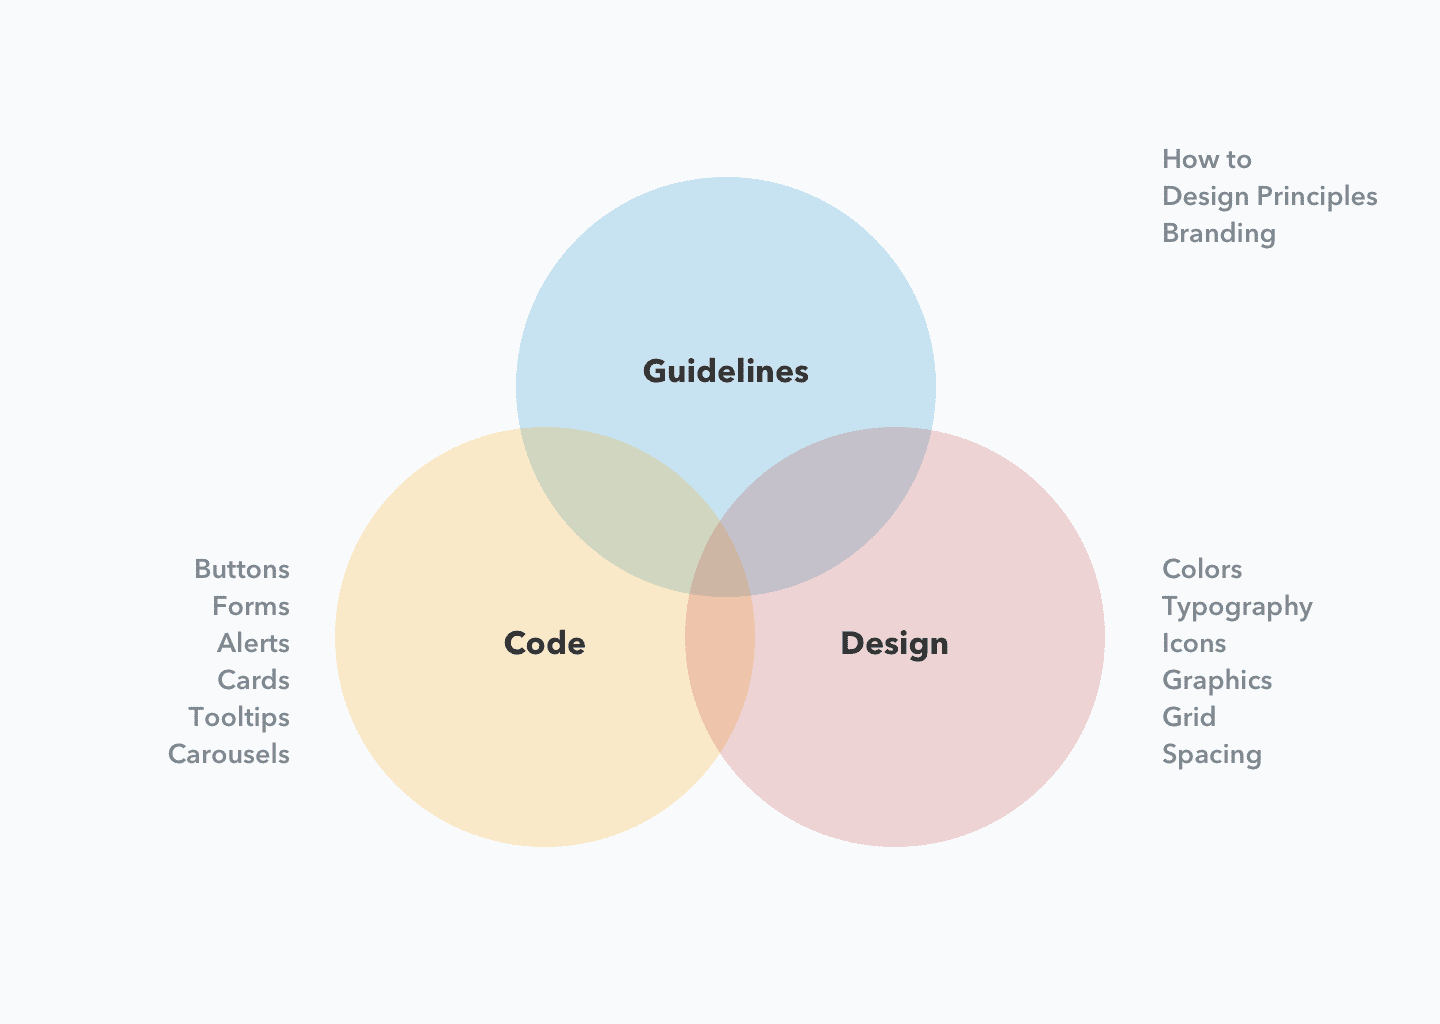
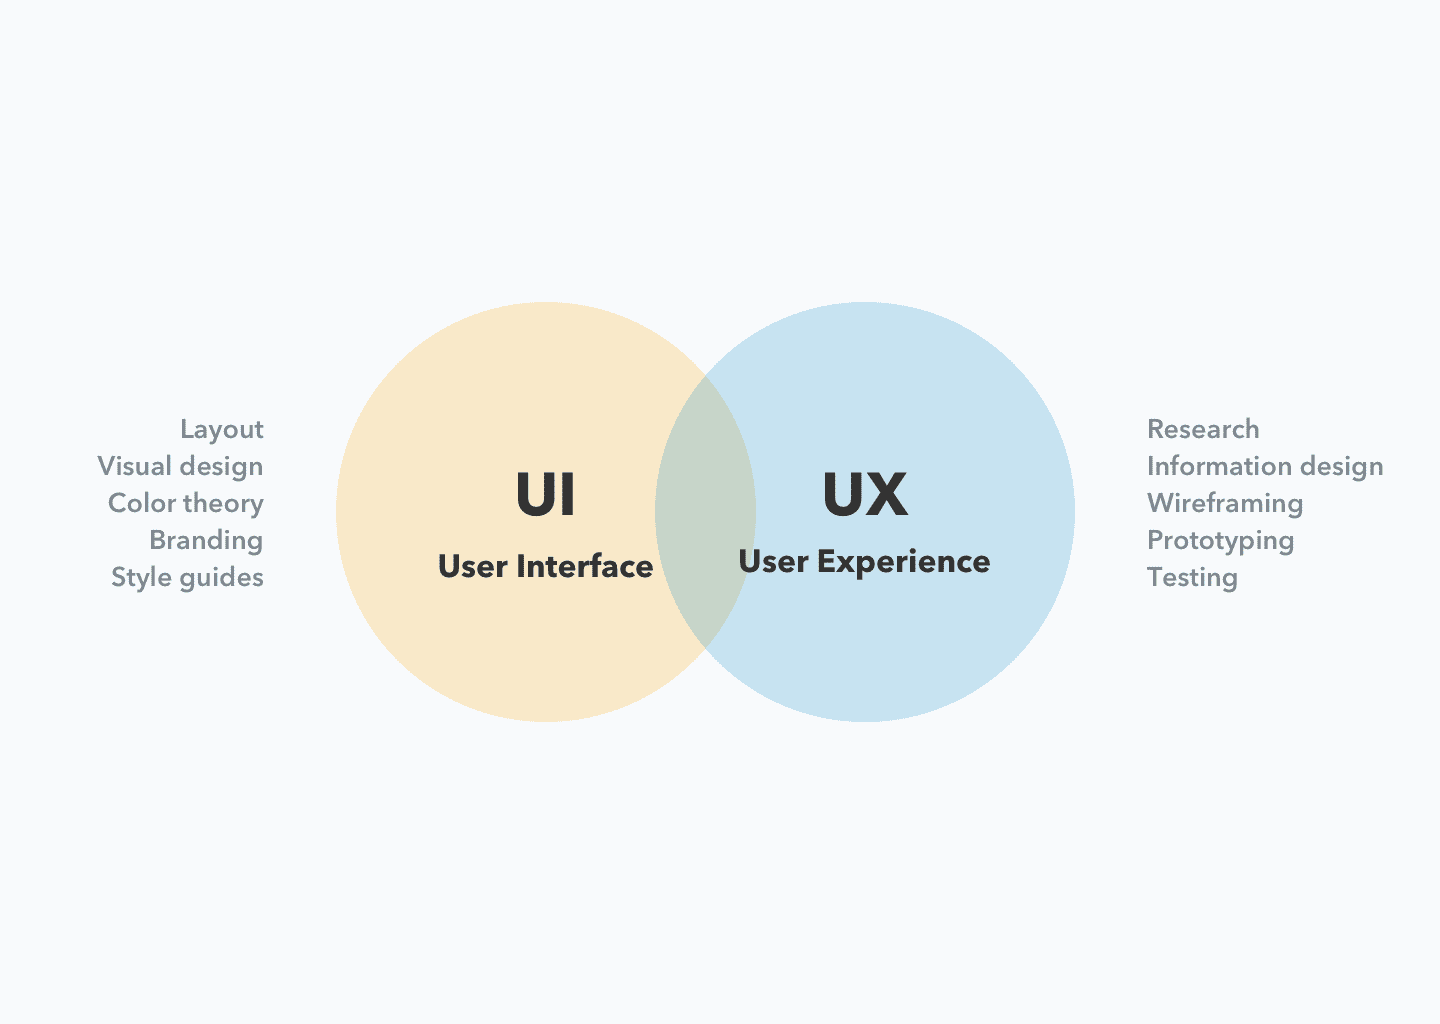
    Do you have a stronger preference for UX vs UI? 

    While I feel UX is equally (if not more) important as UI, I prefer to work on the interface. I am right-brain dominant and have a strong background in traditional and digital art. In addition, I worked for many years as a Front End Developer and developed an expertise working with CSS and HTML.

    Having a very fine understanding of how an interface design (and it’s interactions) will translate to code is like having a super-power. That said, you must still base your design decisions on data and/or testable assumptions.

    I believe form and function should be treated equally as users often perceive aesthetically pleasing design as design that’s more usable, aka, The Aesthetic Usability Effect.

    In my ideal scenario, these two roles are split and require some crossover knowledge (80/20) and a healthy working relationship. To me, it feels like two detectives working side-by-side on solving the same case. Think Sherlock and Watson or Dexter and Deborah Morgan, if that’s more your thing.

    Do you work on non-work related projects for fun? 

    All. The. Time. I’d consider myself an “idea guy” above all else. I’m constantly white-boarding new ideas and asking friends for their feedback. Every once in a while, I’ll commit to developing one of my ideas just for fun and to see how far I can take it.

    For example, in 2015, I hired a small team of designers, developers, and copywriters to help bring Time Roundup to life. Note: this product was sunset in 2018 due to lack of resources. Check out my Whiteboard page (removed) to see what ideas I may bring to life next ;o)

    Have you ever done contract/freelance work?

    In 2013, I started my own product design consultancy, Antfarm Collaborative. For over four years, I worked with startups to Fortune enterprises on enhancing customer satisfaction and brand loyalty by designing digital products end-to-end. I enjoyed working on freelance gigs as I could pick and choose my projects and switch clients (and subject matter) more often -all while working from my home office.

    However, working freelance jobs comes with it’s fair share of disadvantages. For example, getting paid on time was a constant battle. Further, when the market is less-demanding, there’s less work available and sometimes you have to work on something you’re really not passionate about just to pay the bills.

    I would never rule-out having my own consultancy again but for now, I enjoy the stability of a full-time job, and that I have an amazing manager to help mentor me. Finally, I do still create and manage WordPress websites for several small businesses. It’s more or less a “rubber stamp” process that feels like passive income. It pays my coffee expenses!

    Conclusion

    In conclusion, a day in the life of a Product Designer is always evolving -from tools, to process, to people. My final piece of advice is to use what you think are the best tools for you, for your specific scenario, and be open to change. Some clients will require specific tools and you must learn to adapt quickly. 

    It is not the strongest or the most intelligent who will survive but those who can best manage change.” – Charles Darwin


    Have an idea I could help with? Let’s chat! While I’m currently on assignment, I’m excited to hear about the next big thing. Email me.

  • 15 Recommended Product Design Books

    15 Recommended Product Design Books

    I‘m often asked what my recommendations are for product design books. I typically respond with, “what are you trying to learn?”. These are the books (below) that I find myself re-reading often -the “product design classics”. The books are listed in no particular order and I’ve included a brief description and a link to where you can pick up a copy. 

    1. A Project Guide to UX Design by Carolyn Chandler and Russ Unger

    This is pretty much a cook book for UX projects -all the recipes you’ll need. I picked this up early on in my freelance career and it… made me look like a pro! I would recommend this if you are getting started or just need to brush-up on your UX design skills.

    2. Don’t Make Me Think by Steve Krug

    This book is about usability engineering (for the web) and it’s fun to read. After reading this book, I learned to have more empathy for the end user and to say “no” to complicated UI requests.

    3.  Rocket Surgery Made Easy by Steve Krug

    Test early, test often, and test on any budget… is what you can expect to learn from this one.

    4.  The Elements of User Experience by Jesse James Garrett

    It’s hard to believe the model is 20 years old as I reference The Elements often.  For the most part, the same rules still apply.

    5. Lean UX by Jeff Gothelf and Josh Seiden

    Understanding the three pillars of Lean UX will help you manage your time, budget, and resources while conducting UX Design activities.

    6. Hooked by Nir Eyal and Ryan Hoover

    Learning the Hook model revolutionized how I approach building products -particularly B2C. Read this book to learn more about how UX works in the brain and how to build habit-forming products.

    7. The Design of Everyday Things by Don Norman

    Understanding how an object will be used is paramount to understanding how to design it. 

    8. Usability Engineering by Jakob Nielsen

    Fire-up the time machine, Marty! We’re going to go way back to the year 1993. Believe it or not, I had a desktop computer at home that wasn’t the size of a refrigerator. In this book, you’ll learn about the development lifecycle, basic usability engineering methods, and how to build quality into your work.

    9. Information Architecture: For the Web and Beyond by Louis Rosenfeld

    If you’re not familiar with Rosenfeld, he started one of the most successful UX practices (Rosenfeld Media) in the early 2000’s. He also founded the Information Architecture Institute in 2002. On the streets, he’s known as the Godfather of IA. This book will teach you how to identify who will be using your site, what they’ll be using it for, and how to organize the information to best accommodate users goals.

    D10. esign Systems Handbook by Diana Mounter, Marco Suarez, Katie Sylor-Miller, Roy Stanfield, Jina Anne

    This book will help you learn best practices around design systems, with insights from lead product designers at Shopify, Google, Apple, Twitter, and LinkedIn. In addition to Amazon, this book is also available (for free) at, https://www.designbetter.co/design-systems-handbook

    https://www.amazon.com/Design-Systems-Handbook/dp/B07Z5GLMZB

    11. Atomic Design by Brad Frost

    Atomic Design covers best practices around creating and maintaining design systems. The book introduces a methodology for thinking of your UI as hierarchies, and discusses how to streamline UI design production.

    https://shop.bradfrost.com

    12. Sprint by Jake Knapp

    This book will walk you through the five stages of a design sprint: 1) problem framing, 2) understanding the problem, 3) sketching and deciding on a solution, 4)building a prototype, and 5) testing with customers.

    13. Principles of Product Design by Aarron Walter

    This is another free book from DesignBetter.com,  https://www.designbetter.co/principles-of-product-design, that will walk you through design thinking and additional product design best practices.

    https://www.amazon.com/Principles-of-Product-Design/dp/B07Z5GPZ2S

    14. Mobile First by Luke Wroblewski

    This is my go-to guide on mobile web design. After attending my first, An Event Apart, I started reading all of the books, following the authors, and designing mobile first. 

    https://abookapart.com/collections/books

    15. Designing for Emotion by Aaron Walter

    This is another book from the A List Apart series and another great read. Aaron Walter guides you through how to design for humans with case studies and psychologically-grounded principles.

    https://abookapart.com/collections/books

    Conclusion

    The next time you’re looking for advice on product design, try checking out one of the books I have listed above. Whether you’re an expert, or just getting started, I’ll always recommend having something on your nightstand. Happy reading!


    Have an idea I could help with? Let’s chat! While I’m currently on assignment, I’m excited to hear about the next big thing. Email me.

  • 3 Design System Libraries for Sketch

    3 Design System Libraries for Sketch

    Overview

    Sketch has quickly become one of the most popular product design tools on the market. It’s low cost, short learning curve, and extensibility through libraries (and plugins), make it an attractive option to enterprises and students alike. In this article, I’ll share my three favorite design system libraries for Sketch and cover how to install them.

    What’s a Design System?

    Before we begin, let’s briefly discuss design systems. A design system provides guidance on how to create and manage design assets. They also offer guidance on how to align branding standards, across multiple products, to ensure a consistent experience. In software development, design systems outline the visual specification for a user interface (e.g. colors, typography, spacing) and can be managed through shareable libraries.

    Why a Library?

    With Sketch libraries, you can quickly insert interface components into your designs. This will exponentially speed-up your production rate. No more hotkeys to remember, no documentation to read through, just getting things done -and without sacrificing quality! In addition, if you work on a team (or across multiple teams) you can all work from the same library to ensure consistency. Right click, insert… done! Simply put, Sketch libraries streamline production and collaboration, for individuals and teams.

    3 Design System Libraries for Sketch

    The three design system libraries that I’ll focus on for today are: Material by Google, iOS by Apple, and Lightning by Salesforce. I chose these specific libraries because of their popularity, familiarity, and ease of use. I’ll provide a little insight into my experience using the systems and provide links to download the Sketch libraries. Let’s get started…

    Material Design

    Material Design (by Google) was the first enterprise design system that I learned. I began studying the system in 2014 and it took me roughly a month to learn. If you’re already familiar with Google products, which most folks are, this is a great place to start. The Sketch library itself is robust and will include everything you need to create web and mobile applications. Visit the Material Design Resources page to download the design kit for Sketch, 

    https://material.io/resources

    iOS

    As a product designer, you’ll most likely find yourself working on mobile applications at some point in your career. Much like Material, iOS is robust and very well documented. However, if you don’t use Apple products, it may feel unfamiliar to you and could take a bit longer to learn. Stay patient… you can’t avoid this one! It’s a great skill to have on your resume too. Visit the Apple Design Resources page to download the iOS Sketch LIbrary, 

    https://developer.apple.com/design/resources

    Salesforce Lightning Design System

    In 2018, I started learning the Salesforce Lightning Design System (SLDS). Since then, it has become my favorite design system as it suits my style really well -I love to illustrate! The guidelines are well organized, easy to read/ follow, and are updated often. In my opinion, SLDS is the most approachable design system, but I am also biased… so there ya go! Download the Sketch UI Kit to get started with Lightning,

    https://www.lightningdesignsystem.com/resources/downloads

    Installing a Sketch Library

    The installation in Sketch library files is simple. Open Sketch’s Preferences by selecting Sketch > Preferences, and then click on the Libraries tab. From there, click the Add Library… button to browse for your file(s).

    Note: The SLDS library is now managed through a plugin, https://www.lightningdesignsystem.com/tools/sketch/. The process for installing a plugin is even easier than installing a library… just double-click the installation file and the Wizard will guide you through.

    Next Steps

    Now that you have a design system installed, you can begin to use it’s components in your interface designs. To get started, create a new Artboard in Sketch. Then, right click within the Artboard to insert a component from a library. Pretty neat, right!? For more information on Sketch Libraries, including how to create your own, check out  https://www.sketch.com/docs/libraries/. Until next time, thanks for reading!


    Have an idea I could help with? Let’s chat! While I’m currently on assignment, I’m excited to hear about the next big thing. Email me.

  • What is a Design System?

    What is a Design System?

    A design system is a collection of design guidelines, components, and tools that helps teams create consistent and cohesive user experiences. It is a living framework that defines the visual and interactive elements of a product, including typography, color, iconography, buttons, forms, and more.

    A design system serves as a shared understanding of how a product should look and feel, and helps teams work efficiently and effectively by providing a common language and a set of reusable components.

    By creating a design system, teams can ensure that products are consistent in both appearance and behavior, and can focus on creating new features and solving complex problems, instead of reinventing the wheel every time they create a new product or feature.

    Design systems can be applied to a variety of products, including websites, mobile apps, software applications, and even physical products. They can be created and maintained by a dedicated design team or by a cross-functional team that includes designers, engineers, and product managers.

    How Do You Create a Design System?

    Creating a design system requires careful planning, collaboration, and iteration. Here are the steps you can follow to get started:

    1. Define your goals: Determine what you want to achieve with your design system, such as creating consistency across your product portfolio, improving the efficiency of your design and development teams, or providing a better user experience.
    2. Gather existing assets: Take inventory of existing design assets, such as style guides, design patterns, and components, and assess their effectiveness. Determine which assets should be included in your design system, and which need to be updated or redesigned.
    3. Define your design language: Develop a shared vocabulary and a set of principles that will guide your design decisions. This may include guidelines for color, typography, imagery, and other visual elements.
    4. Create and document components: Develop a library of reusable components, such as buttons, forms, icons, and navigation elements, and document their usage and interactions.
    5. Implement and test: Start using your design system in your design and development processes, and test it with users to get feedback and make improvements. Be prepared to iterate and evolve your design system over time as your needs change and your product portfolio grows.
    6. Train and communicate: Ensure that everyone who will be using your design system understands how it works and why it is important. Provide training and resources to help them work with it effectively.

    Creating a design system is an ongoing process that requires collaboration, testing, and iteration. The goal is to create a flexible and adaptable framework that can evolve with your product and your users’ needs.

    Design System Examples

    There are many examples of design systems used by companies and organizations, some of the most well-known are:

    1. Material Design: A visual language developed by Google that provides guidelines for designing digital products.
    2. Apple’s Human Interface Guidelines (HIG): A set of design principles and guidelines for Apple products, including the iPhone, iPad, and Mac.
    3. Salesforce Lightning Design System: A design system used by Salesforce to create consistent and cohesive experiences across their products.
    4. IBM Design Language: A design system used by IBM to create digital products and services.
    5. Airbnb Design System: A design system used by Airbnb to create consistent and coherent experiences for their customers.
    6. Microsoft Fluent Design System: A design language developed by Microsoft to provide a consistent look and feel across all of their products and platforms.

    These design systems help ensure that products are consistent in both appearance and behavior, and they make it easier for designers and developers to create new features and solve problems. They are also valuable assets that help companies build a recognizable brand and provide a better user experience.

  • Whats the difference between UX Design and UI Design?

    Whats the difference between UX Design and UI Design?

    UX (User Experience) Design and UI (User Interface) Design are two related but distinct fields in digital product design.

    UX design is focused on the overall feel of the product and how it meets the user’s needs and expectations. It involves research, prototyping, testing, and iterating to create a product that is both usable and enjoyable. UX designers focus on creating a seamless, intuitive, and efficient experience for users.

    UI design, on the other hand, is focused on the look and layout of the product’s interface. UI designers are responsible for creating the visual design, including the color scheme, typography, and the placement of elements on the screen. UI design is concerned with how the product is presented to the user, and how users interact with it.

    In conclusion, UX design is focused on the user’s experience, while UI design is focused on the visual and interactive design of the product. Both disciplines are important for creating successful digital products, and often work together to create a cohesive and delightful user experience.